
Looking to increase SEO rankings? One of the easiest strategies is to optimize the content you already have at your disposal — whether you’ve already published it or not. All it takes is brushing up on your SEO content writing skills, and a little time.
In this article, I’ve laid out some steps for optimizing your content for SEO. Whenever I optimize existing content for a client, this is the process I follow.
So whether you’re new to SEO content writing and looking for some best practices before you begin, or you’re a veteran content publisher looking to improve the content you’ve already posted, you can follow these steps below.
Step 1: Study insights to arrive at a content optimization strategy
The first step of any content optimization process is to see what’s been successful on your blog or website so far. The insights you gain during this research can be used to create a content optimization strategy to help you systematically optimize the rest of your content.
Use Google Analytics to check out the number of user sessions, average time spent on page, bounce rate, and conversions. This will help you find which content to start with (start with the strongest-performing content first) and also give you ideas on how to update other content.
The key here is to find what your best-performing articles have in common. Ask yourself these questions:
- Do they have more imagery than other articles?
- Do they include a video?
- Are the headlines or meta descriptions “grabbier”? Are they shorter or longer?
- How is the quality or readability of the writing?
- How many internal links are included?
- Is there a clear CTA?
Take note of what you find in these top performers and make sure to implement these as best practices for the rest of your content!
Step 2: Reconsider your topic and angle
With the article in front of you, before you get started on any other optimizations, ask yourself if the topic or angle itself is optimum. You can do this by putting yourself in the shoes of your reader and determining if it’s truly valuable or engaging content.
Additionally, do some Google research on the subject and take a look at the results. You may find that your topic is too generic, unoriginal, muddied, or not very relevant for your brand. Or perhaps a million other brands have tackled the same topic and the highest performing content seems hard to compete with. If this is the case, see if you can approach the topic from a different angle.
Perhaps the topic itself is good, but there’s a missed opportunity to educate readers about your brand’s solutions (in a non-salesy way of course). In this case, you’ll want to add a bit more content or rework it a bit.
For example, if your article is on making your office safe for employees and your product is a hybrid work management software program that offers a temperature-check feature, add a section on the importance of checking temperatures at the office entrance. This will allow you to place a link or CTA driving readers to your product page.
Step 3: Keyword research
Now that you’ve confirmed you’ve got a solid topic or angle, it’s time to start with the very foundation of SEO optimization: selecting your keywords.
What are keywords?
According to Moz, “Keywords are ideas and topics that define what your content is about. In terms of SEO, they’re the words and phrases that searchers enter into search engines, also called ‘search queries.’”
How to find keywords for your blog article
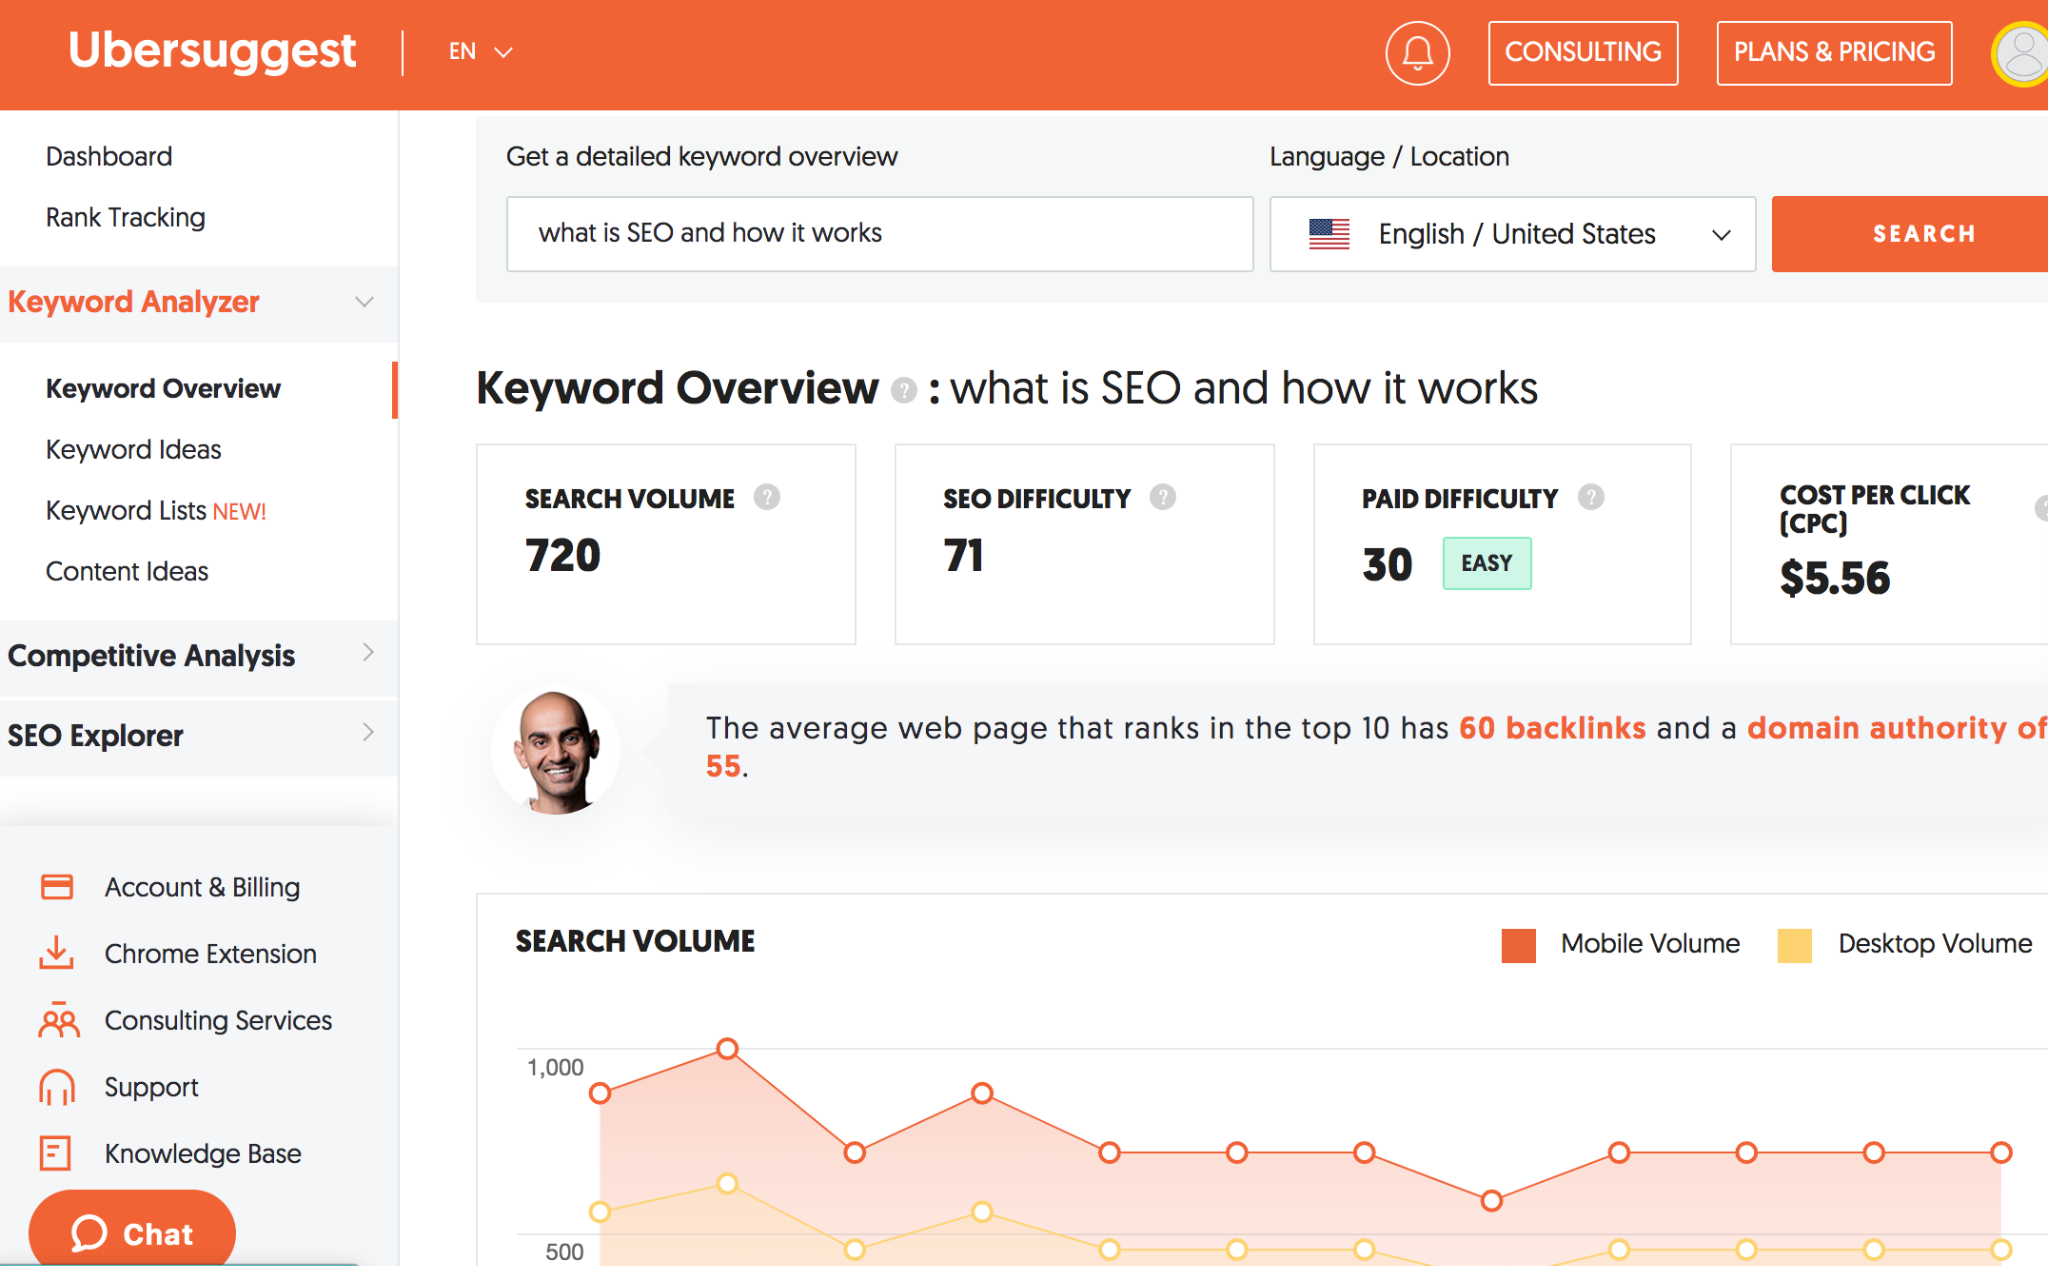
- Use a keyword research tool. I’ve used Semrush and Brightedge in the past with success, but my current favorite is Uber Suggest by the SEO guru himself, Neil Patel. This tool is extremely affordable and perfect for smaller businesses.
- Enter in some phrases you think someone might enter into Google if they were looking for the content in your article. This step is all about evaluating search intent – that is, what the user would be looking for when they type in those phrases.
- Select long tail keywords with low to medium difficulty.
According to Brightedge, “A long tail keyword is a phrase that is generally made from three to five words. Since these keywords are more specific than generic terms, they allow you to target niche demographics. These keywords are also less competitive than generic keywords … With long tail keywords, you are able to attract more high-quality traffic to your website which is more likely to lead to conversions.”
Long tail keywords, especially ones with low to medium difficulty (which means they’re less competitive to rank for) tend to have lower traffic than other keywords, but they’re more likely to attract the right reader for your article and they’re usually a lot easier to rank high for compared to super-high-traffic keywords.”
You don’t have to eliminate “head terms” – the higher-volume generic keywords with higher competition — from your list. Keep a couple as secondary or LSI keywords, and gradually over time, as your domain authority increases, you will find that you will rank higher for these.
- Focus on one single primary keyword if possible, or two at the most.
- Select two or three secondary keywords that are related to the primary keyword.
- Choose a few LSI (Latent Semantic Indexing) keywords, which are terms related to the main keyword that search engines use to understand the content on a page more deeply.
You can find these in the drop-down menu that populates as suggested searches when you enter the primary keyword into the search bar. They will be bolded. They are useful for giving you ideas on what to include, and they give Google’s algorithm more context around your topic so they understand that you’re covering it thoroughly.
Step 4: Optimize the title tag and meta description for SEO
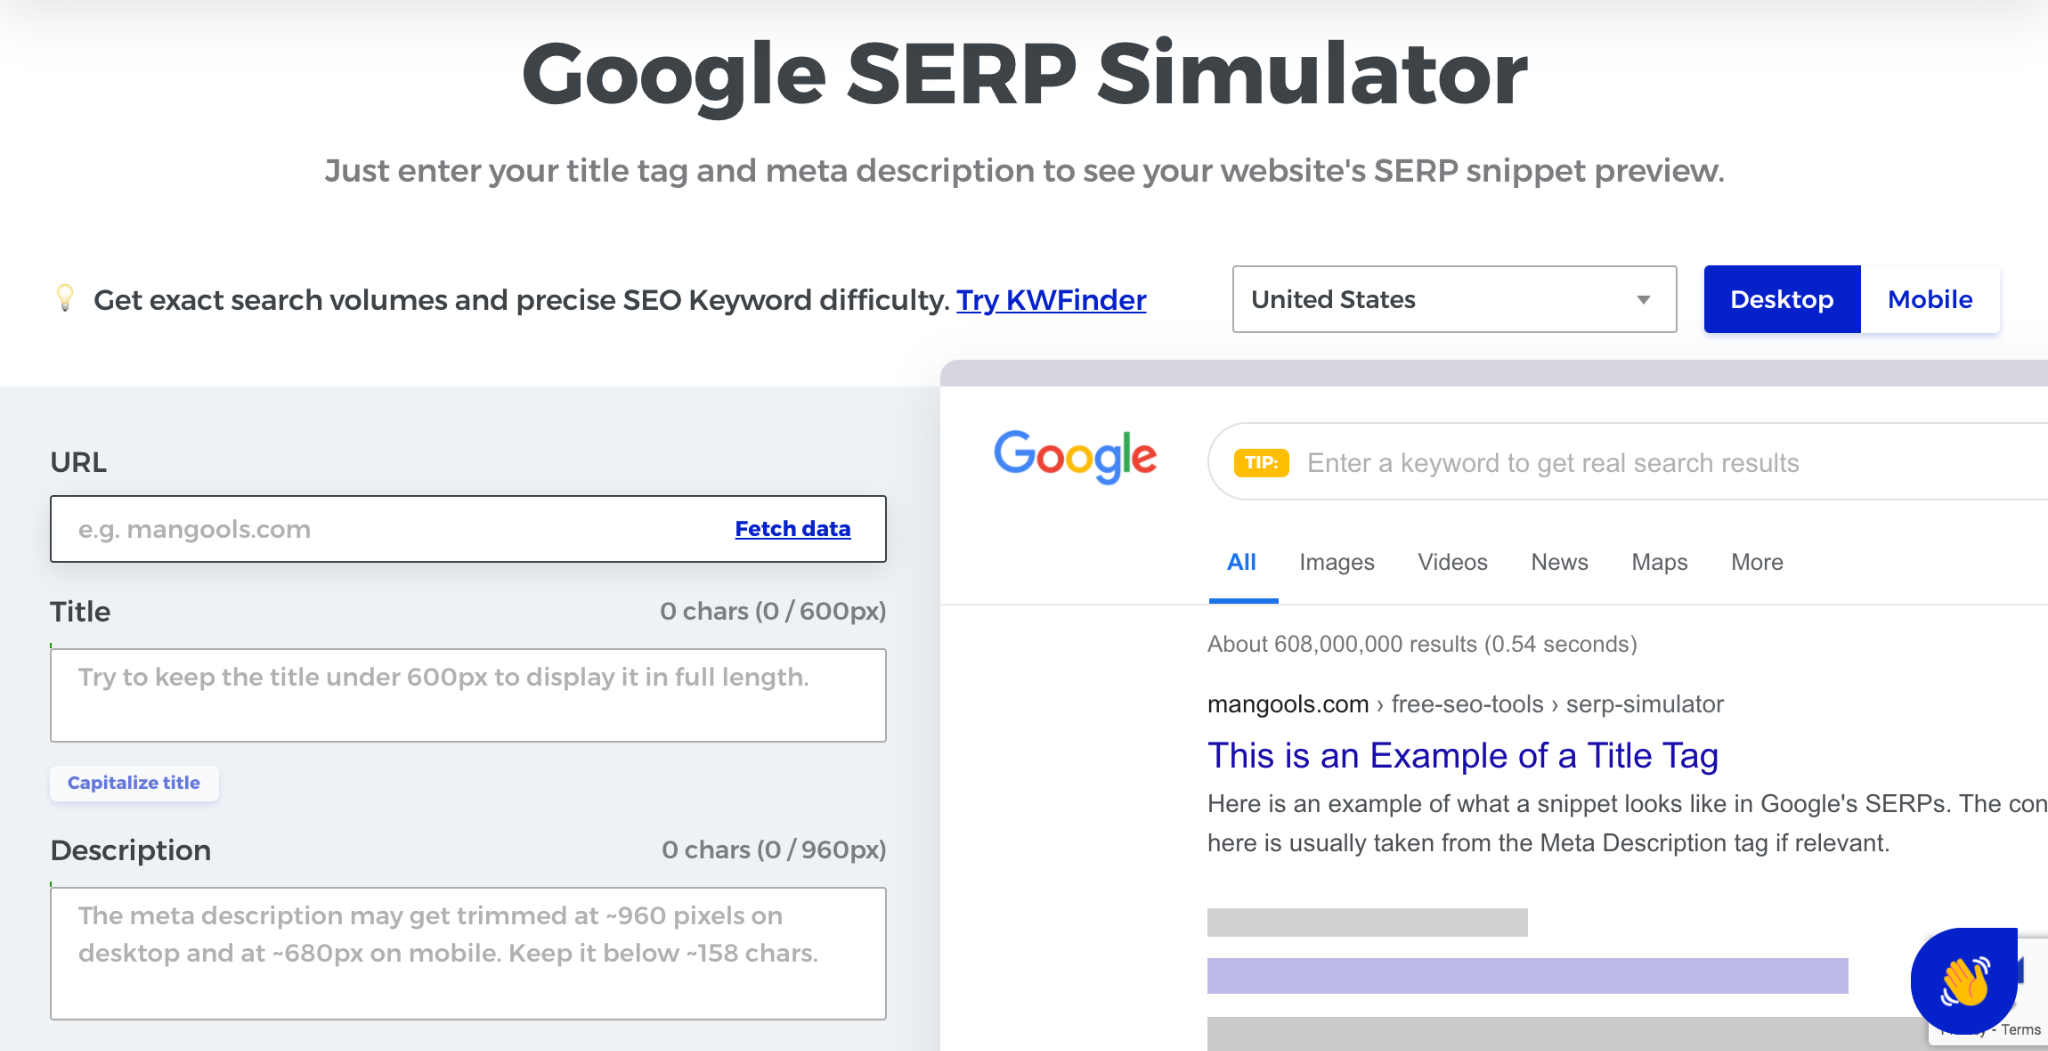
Now it’s time to take a look at one of the most important factors in SEO rankings, your SERP snippet — which includes both your title tag (aka meta title) and meta description.
You can preview your snippet inside your Yoast SEO plugin in WordPress or use a SERP preview tool like this one from Mangools.
How to optimize title tags for SEO
An SEO title tag, also known as a meta title, is the HTML code that determines the title for your page when it turns up in search results or on social media. It doesn’t have to be the same as the title on the page itself.
Having a clickable title tag is one of the most important SEO ranking factors, vital for attracting the right users to your article and helping Google understand what your content is about.
Make sure your meta title:
- Includes your primary keyword ideally at the beginning or close to the beginning of your title
- Is actionable (use words like “How to,” “Step-by Step Guide,” and “Expert Tips,” etc.)
- Contains “power words” such as “exclusive” or double them up as in “ridiculously simple”
Check out some more great tips on writing meta titles from Blog Tyrant.
How to optimize meta descriptions for SEO
Meta descriptions are the 160-character summaries that tell you what the content is about on a web page. The more accurate and enticing they are, the more likely you are to rank higher for targeted keywords and the more likely users are to click on your page.
Here are some great tips for writing meta descriptions from the venerable Neil Patel:
- Include a CTA in your meta descriptions like “learn more” or “click here.”
- Add words that describe the value of your content such as “best,” “new,” or even “updated for 2021.”
- A/B test your meta descriptions.
- Experiment with character length.
- Make your meta descriptions unique and interesting. Try clickbait titles or incorporate eye-catching words like “shocking” or “life-changing.” (Just be sure your content can deliver on what your headline promises.)
Step 5: Internal linking
Internal linking is an essential part of SEO optimization. Not only does it signal to your reader that you have some exceptionally relevant content that’s so good they should check it out asap, but it also signals to search engines that the content you’re linking to is some pretty hot stuff. This can improve that page’s rankings.
Here are some tips for optimizing your internal linking:
- Go deep or go home: Avoid linking to main, surface-level pages and try to find articles or web pages deep within the architecture of your website.
- Link only to pages that are a natural fit and will truly make sense to the reader in the context of the article.
- Make sure the anchor text is keyword-rich and contains at least a couple of words – no single-word hyperlinks and no hyperlinking “here” or “this.”
- Link to older blog articles as well as product and service pages.
- Don’t be afraid to add more internal links, even a lot more, to your article. I was taught by old hat SEOs to stick to 3 to 5 per blog post, but when you look at the content marketers who are dominating Google, like Neil, you may find as many as dozens of internal links. As long as the links are relevant and point to high-quality content, and you don’t overdo it – by distracting readers with a sea of blue in your articles – it’s worth testing out higher numbers of internal links.
Check out this primer on internal linking to study up on more best practices.
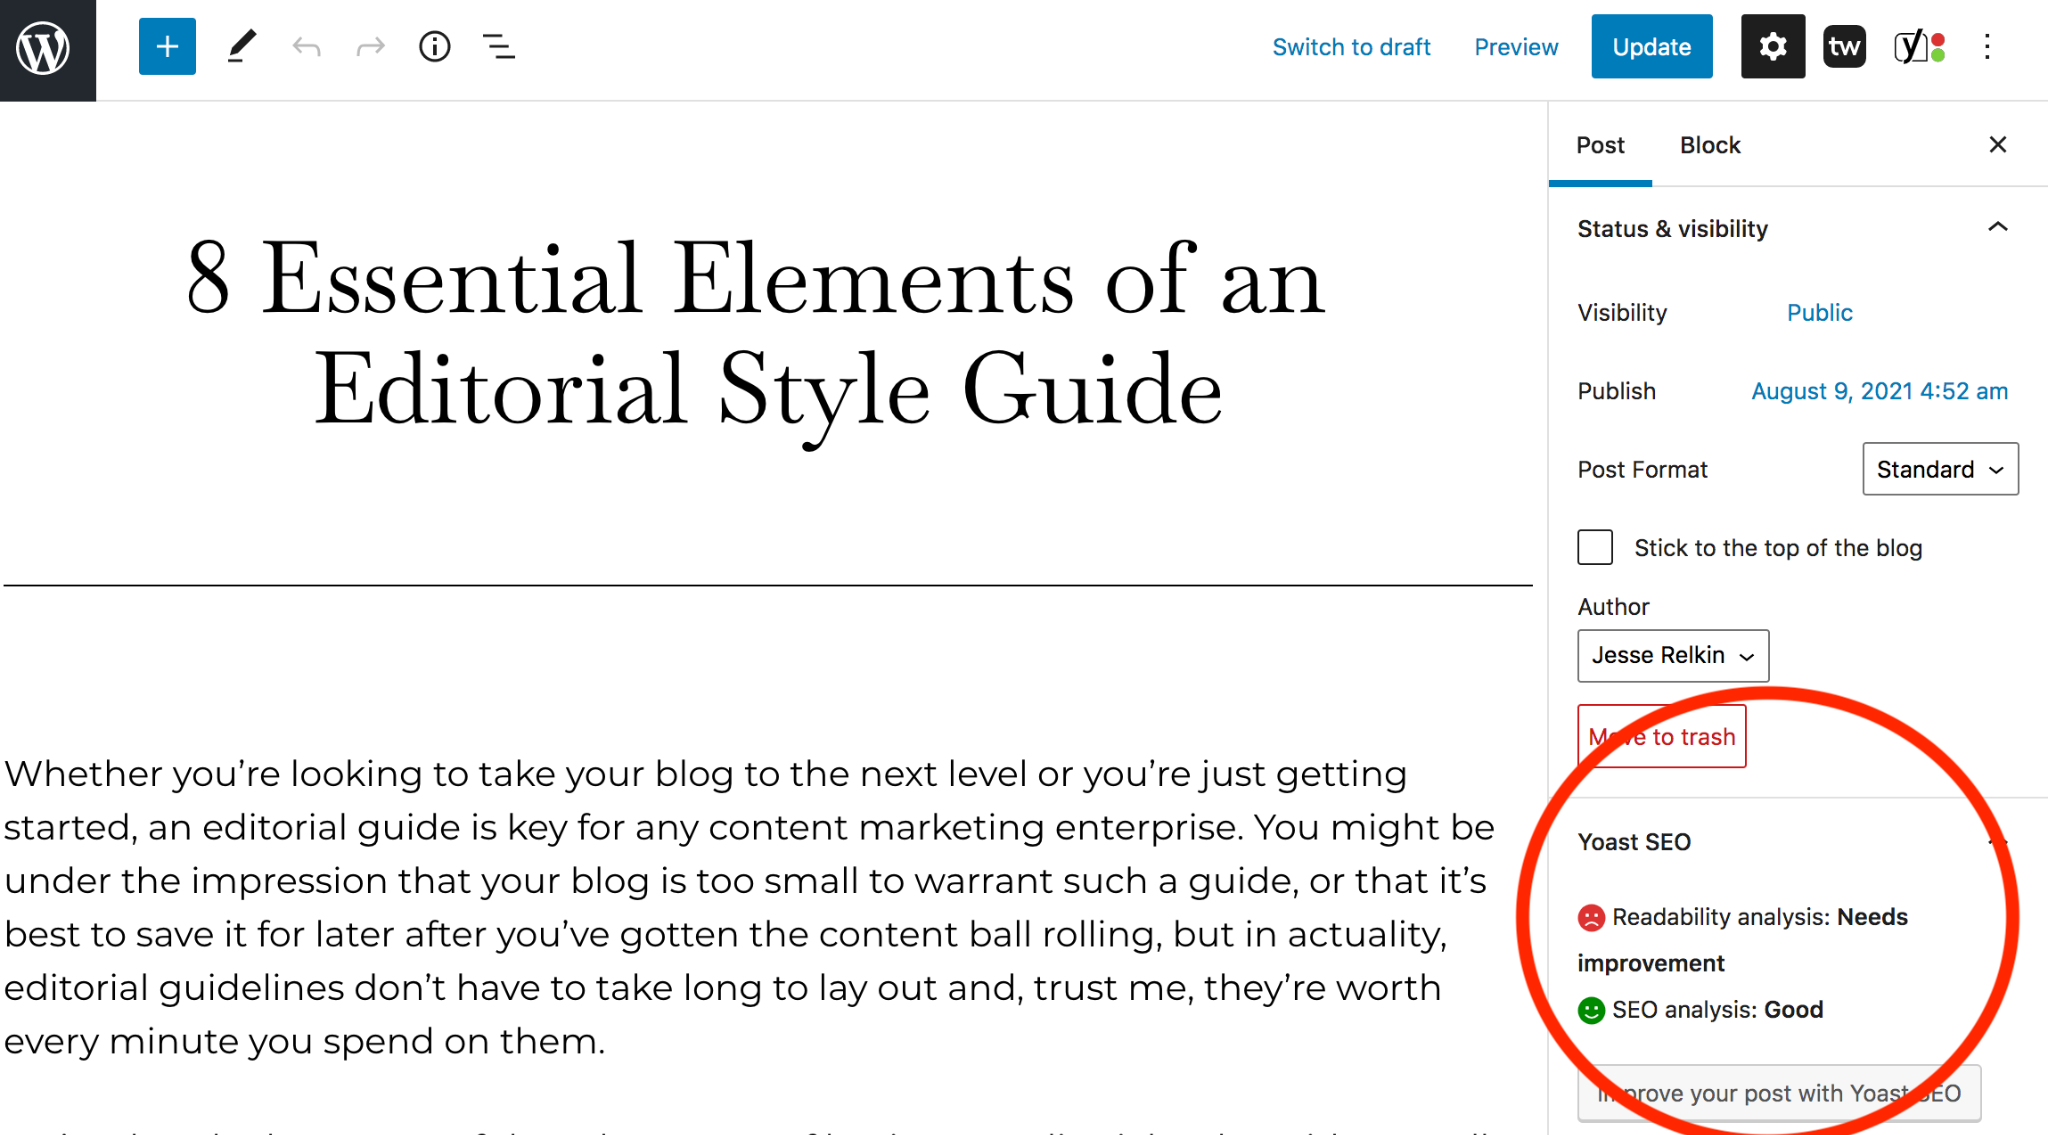
Step 6: Improve readability
Above you’ll find a very common sight in the sidebar of WordPress after I upload an article – a good SEO score but a readability score that needs improvement (as a literature major, I have a tendency to get a bit wordy). But if I can improve my own readability, so can you.
What is a readability score?
A readability score is a rating that tells you how easy or difficult it is to read your content. It’s based on the Flesch-Kincaid test of readability and you can find it in various tools including – what I use — the Yoast SEO WordPress plugin.
The higher the score, the easier it is to read your text. Most usability experts agree that you should aim for a readability score of 60, which amounts to an eighth-grade education, or higher.
How do you improve readability?
If your content doesn’t pass the readability test, here are some ways to improve readability:
- Stick to shorter, simpler words when you can, eliminating jargon unless absolutely necessary for the audience you’re targeting.
- Shorten your sentences. Try to aim for 20 to 25 words per sentence. Break up sentences that contain multiple ideas, and get rid of unnecessary modifiers.
- Break up larger paragraphs into smaller ones of just one to three sentences.
- Break up copy into bullet points when applicable.
Step 7: Add value and uniqueness
Content marketing is all about bringing as much value to your community as possible in the form of content. Now’s the time to shove all the extra value you can into the nooks and crannies of your SEO article.
Here are some ideas of what you can add to make your article stand out:
- “Pro Tips” boxes throughout the article with extra-special golden nuggets of wisdom.
- More images or videos to break up the text
- A free download, such as a checklist, workbook, or e-book that’s relevant to your topic
- Some expert quotes to set your article apart from ordinary listicles
This is where competitor research can really come in handy. Take a look at what’s ranking at the top for the primary keyword you’re targeting and determine how you can one-up the cream of the crop.
Step 8: Edit according to your insights and content optimization strategy
Remember the work you did all the way back in step 1? This is where you revisit the best practices you uncovered when you researched your best-performing content. If you haven’t yet addressed these key differentiators in the previous steps, now it’s time to incorporate them into your optimized content.
Step 9: Add relevant calls to action
Looking to improve conversion or want to keep your users engaged on your site? Make sure you’ve included at least one CTA. In an average-length blog post, there’s usually room for at least two. I like to include one in the middle and one at the very end. If I’m dealing with a get-a-quote-now-type CTA, I like to box it up visually so it’s completely separate from the rest of the blog article, or I save it for the very last line.
There are two types of CTAs:
- Engagement CTAs: Read more relevant articles like this one
- Sales CTAs: Learn about our services or get a quote now
You can fit them in stand-alone boxes (which is best in the middle of an article) or you can save them for the end.
Here are some examples:
This article from the PODS for Business Blog squeezes in a relevant article link right smack in the middle to increase engagement on the website.

Source: PODS for Business Blog
This article from the Unbounce Blog saves a subtle sales pitch for the very last sentence:
Source: Unbounce Blog
Refining SEO content is a continual process
Whether you’re new to SEO or have been doing it a while, there’s always something you can do to optimize your content for SEO. I regularly revisit past articles to update them, and I’ll likely be refreshing this one multiple times before you even read it. If you follow these nine steps above every time you’re in optimization mode, you’ll be sure to add some extra SEO power to your content.
Need some help with optimizing your content for SEO? We’d love to help. Reach out to our team today so we can learn more about your needs.